Where The Teal Is My Cat?
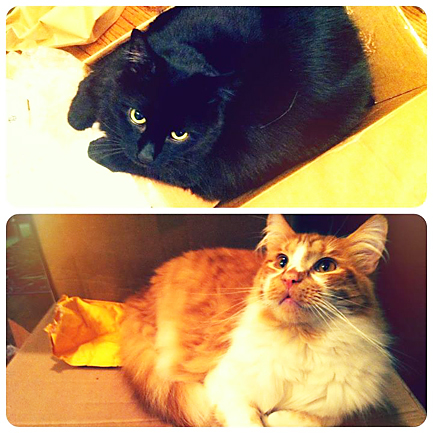
The Teal Cat Shipping Dept. slacking off on the job
I know, I said six weeks max, and it’s been, well, more than that! Some teal cats have gone out, but I feel I owe you an explanation in case you haven’t received yours yet.
When I started this, I had only painted 10 cats or so. And I thought, “No big deal, I can do a million of these!” A little history: I actually started my creative life as a visual artist. As a kid, I was always the one designing the set in school plays. Huge backdrops of hills for the Sound of Music, or a forced perspective yellow brick road for the Wizard of Oz. In the fifth grade, if you needed some paint, I was your man. Later on, I was accepted to the Fame high school as a fine art major. And so this experience — being in a garage with paint and blasting music and objects that I adore — is definitely a familiar and satisfying (albeit long-lost) one.
The thing is, once the orders came in – almost 200 in 3 days to be exact – I hit some problems. Mainly, the fumes from the spray paint were so bad that I needed to leave every few minutes just to be able to breath, even with a mask on.
Couple that with all of the steps: cleaning, sandpapering, priming, painting, second coat, third coat, touch up and finally gloss…we start talking a full day just for a handful of cats. So I knew I had to figure out a better way.
Enter the spray gun! This method works. It works really really well! Not only is it cheaper and faster, it’s much more environmentally friendly and I don’t even need to wear a mask. I also don’t need to prime and everything works out with just one coat. And because I’m using semigloss paint, there’s no need for a glossing coat, either. So really, everything can be done in three steps: Clean, paint the bottom half, let it dry for a day or two, then paint the top half. I can do about 20 a day with this method, so now we’re rolling! But…there’s a catch.
The nature of this new paint is that it’s really really sensitive. They look beautifully glossy and the teal is deep and bright, but they’re very easily nicked and scratched. Obviously, the teal cats were never intended to be a toy, they’re pieces of art. But the spray paint was much more rugged then the new latex that I’m using. So put them on a shelf, out of harms way. When you want to admire them up close, just handle with care!
It’s funny to think about how simple the idea is, you’d really think it’s no big whoop. But everything from deciding on the kind of paint to use, to figuring out the exact right type of string, needs to be meticulously considered. And so I want to thank you for your patience as we figure it out along the way! There is definitely a learning curve and I’m still looking for ways to make the process flawless. I just wanted to keep you up to date on what’s going on over here, and to let you know, they are definitely coming. Hold on to your cats. <3
Buy Vegan from a Vegan with this Etsy Team
Considering how huge it is now — the site has over one million members and 800,000 active shops — it’s hard to believe that Etsy is only six years old. The site is a smorgasboard of goods, and that’s usually a great thing, but it can be a problem when you’re looking for something along a particular set of guidelines, like vegan items. Read More
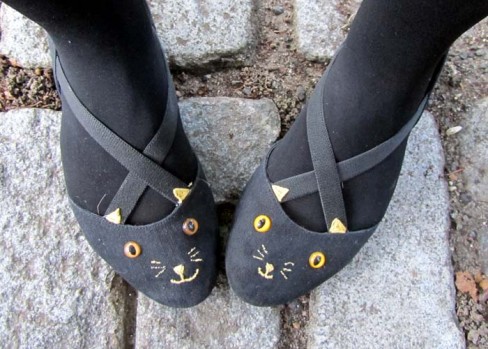
Cat Shoes DIY {inspired by} Charlotte Olympia
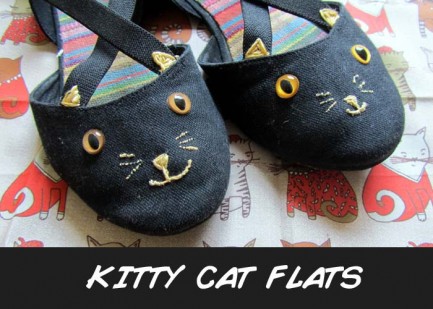
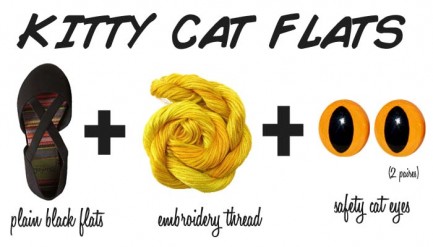
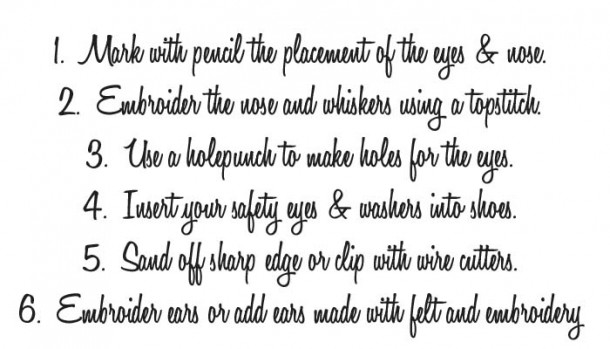
Hi guys, this is Andrea from PaperSparrow! As you may know, I am a smitten kitten when it comes to cute cat fashion. Who isn’t, right? That being said, the price tag on these uhh-mazing items would inspire any DIY-er to get out the needle and thread and get to work. Here is a shoe project inspired by the adorable Charlotte Olympia Embroidered Cat Flats.
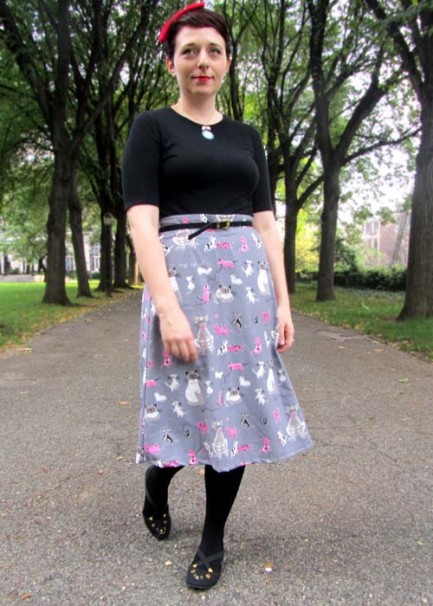
I paired my Cat Flats with a homemade skirt featuring Tammis Keefe Cat Print and my favorite jewelry from I’m Your Present. If you make these shoes *you should-it’s easy* please share your photos : ) Thanks!! xo -Andrea
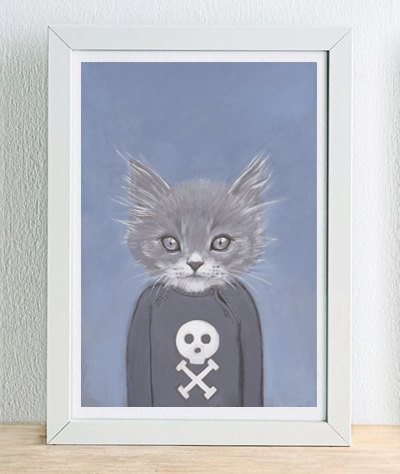
A Scratch-Free Way to Get Your Cat in Clothes
I have never tried to put clothing on either of our cats, because I am not a fool. That would only end in tears (mine) and bloodshed (also mine). I feel lucky that I can get a collar on them. Read More
